Sensitivity Analysis
What is the Sensitivity Analysis
Sensitivity Analysis is widely used to determine how different input variables influence the output of a model. It helps identify which inputs have the most significant impact on the results, providing valuable insights for model optimization, uncertainty quantification, and decision-making. By systematically varying inputs and observing changes in the output, the behavior of complex systems can be better understood.
Overview of UQPyL.sensibility
The sensibility module of UQPyL provide comprehensive methods, including:
| Abbreviation | Full Name | References |
|---|---|---|
| Sobol' | \ | Sobol(2010), Saltelli (2002) |
| DT | Delta Test | Eirola et al. (2008) |
| FAST | Fourier Amplitude Sensitivity Test | Cukier et al. (1973), Saltelli et al. (1999) |
| RBD-FAST | Random Balance Designs Fourier Amplitude Sensitivity Test | Tarantola et al. (2006), Tissot, Prieur (2012) |
| MARS-SA | Multivariate Adaptive Regression Splines for Sensibility Analysis | Friedman, (1991) |
| Morris | \ | Morris, (2012) |
| RSA | Regional Sensitivity Analysis | Hornberger, Spear, (1981), Pianosi (2016) |
All the methods above inherit from the saABC class in UQPyL.sensibility. The sample and analysis functions are predefined and fixed for these methods. In addition, UQPyL provide the Result class to integrate all useful information during analysis.
Here, we introduce their API reference:
Class saABC:
The saABC is the base class of methods from UQPyL.sensibility, which has two predefined and fixed functions, `sample` and `analysis`.
Constructor:
__init__

- Description:

Initializes a new instance of SA methods.

Note: The hyper-parameters are categorized into two parts: a. fixed parameters for all methods; b. special parameters.

- Fixed Parameters for all methods:
    - scalers(tuple(Scaler, Scaler)): A Python tuple specifying the scalers to be used for normalization. If provided, the method will normalize the input `X` and output `Y` during analysis. Each `Scaler` should be an instance of the class from `UQPyL.utility`. `scalers[0]` is used for normalizing `X`, and `scalers[1]` is used for normalizing `Y`.

    - verboseFlag(bool): If set to `True`, the method will output detailed logs or progress messages during execution. Useful for debugging or tracking the analysis process. Default: True.

    - saveFlag(bool): If set to `True`, the analysis result would be saved to `./Result/Data`. Default: False.

    - logFlag(bool): If set to `True`, the verbose result would be simultaneously saved to `./Result/Log`. Default: False.

Other hyper-parameters vary between different SA methods. Please refer to each specific method for details.

For example, FAST can define `M`, i.e., the number of harmonics to sum in the Fourier series decomposition. Default 4.
Methods:
sample

- Description:

Generate samples from the decision space.

Same as the `sample` in DoE, but here to support methods with specific sampling requirements.

- Parameters:
    - problem(Problem) : This must be specified.

Other parameters vary between different methods, please check API reference.

- Return:
    - np.2darray : A 2D Numpy Array of generated array.
analyze

- Description:
    Perform sensitivity analysis based on input X and output Y with the problem

- Parameters:
    - problem(Problem) : A instance of Problem. This must be specified.
    - X(np.2darray) : A 2D Numpy array of decisions.
    - Y(np.2darray) : Optional, If not provided, would be evaluated by the problem.

- Returns:
    - res(Result) : A Class that containing useful information about analysis.
Class Result:
It is used to store and manage the results of sensitivity analysis.
Attributes:
- Si(dict) : A Python dictionary storing analysis results with fixed keywords:
       - 'S1' for first-order sensitivity indices
       - 'S2' for second-order sensitivity indices
       - 'ST' for total-order sensitivity indices

- labels(list) : A python list store the name of variables.

- firstOrder(bool) : If True, the Si contains `S1`.

- secondOrder(bool) : If True, the Si contains `S2`.

- totalOrder(bool) : If True,  the Si contains `ST`.
How to perform sensitivity analysis
Take Ishigami Function as example.

The theoretical sensitivity indices of the Ishigami function are as follows:
First-order sensitivity indices: x1 = 0.314, x2 = 0.442, x3 = 0.000
Total-order sensitivity indices: x1 = 0.558, x2 = 0.442, x3 = 0.244
# Step 1: Define problem

from UQPyL.problems import Problem

def objFunc(X):
    objs = np.sin(X[:, 0]) + 7 * np.sin(X[:, 1])**2 + \
                 0.1 * X[:, 2]**4 * np.sin(X[:, 0])
    return objs[:, None]

Ishigami = Problem(nInput = 3, nOutput = 1, objFunc = objFunc,
                    ub = np.pi, lb = -1*np.pi, varType = [0, 0, 0],
                    name = "Ishigami")

# Step 2: Create a instance of sa methods

from UQPyL.sensibility import FAST

fast = FAST(
            verboseFlag = True,  # Display analysis process in terminal
            saveFlag = True, # Save results to Result/Data Folder
            logFlag = True # Save verbose content to Result/Log Folder
            )

# Step 3: Generate samples

X = fast.sample(problem = problem, N = 500)

# Optional. If not given, `problem.objFunc` would be used in `SA.analyze`
Y = problem.objFunc(X)

res = fast.analyze(problem = problem, X = X, Y = Y)

print(res)
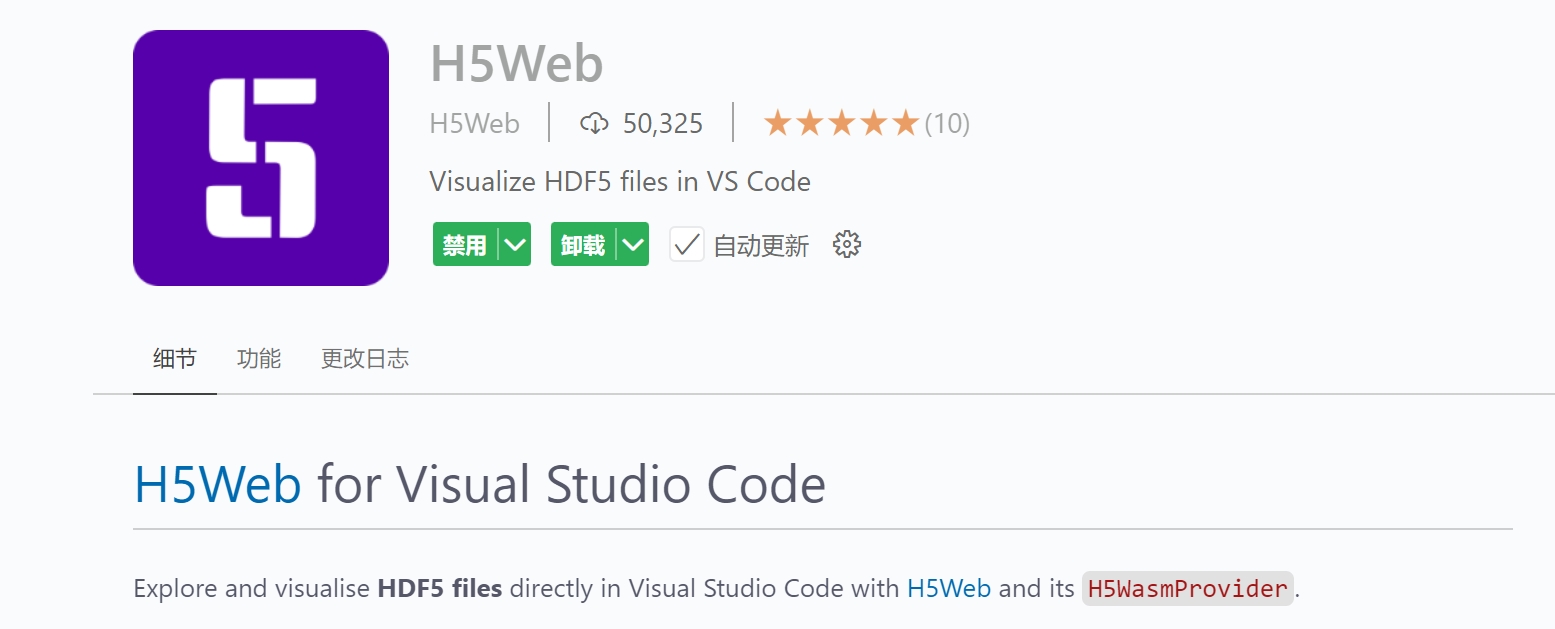
Check the result of sensitivity analysis (.hdf)
When creating an instance of a sensitivity analysis (SA) method, setting the saveFlag or logFlag to True will trigger automatic saving of the results to specific folders — either 'Result/Data' or 'Result/Log'.
The output file containing the analysis results is named following the format A_B_I.hdf, where: where: A denotes the name of the SA method used; B represents the name of the problem being analyzed; I is the index indicating the iteration or repetition of the same analysis.
For example, a file named 'FAST_Ishigami_3.hdf' refers to the third execution of the FAST method on the Ishigami function.
To visualize the results, we recommend installing H5Web, a VSCode extension that allows interactive viewing of HDF5 files directly within the editor.